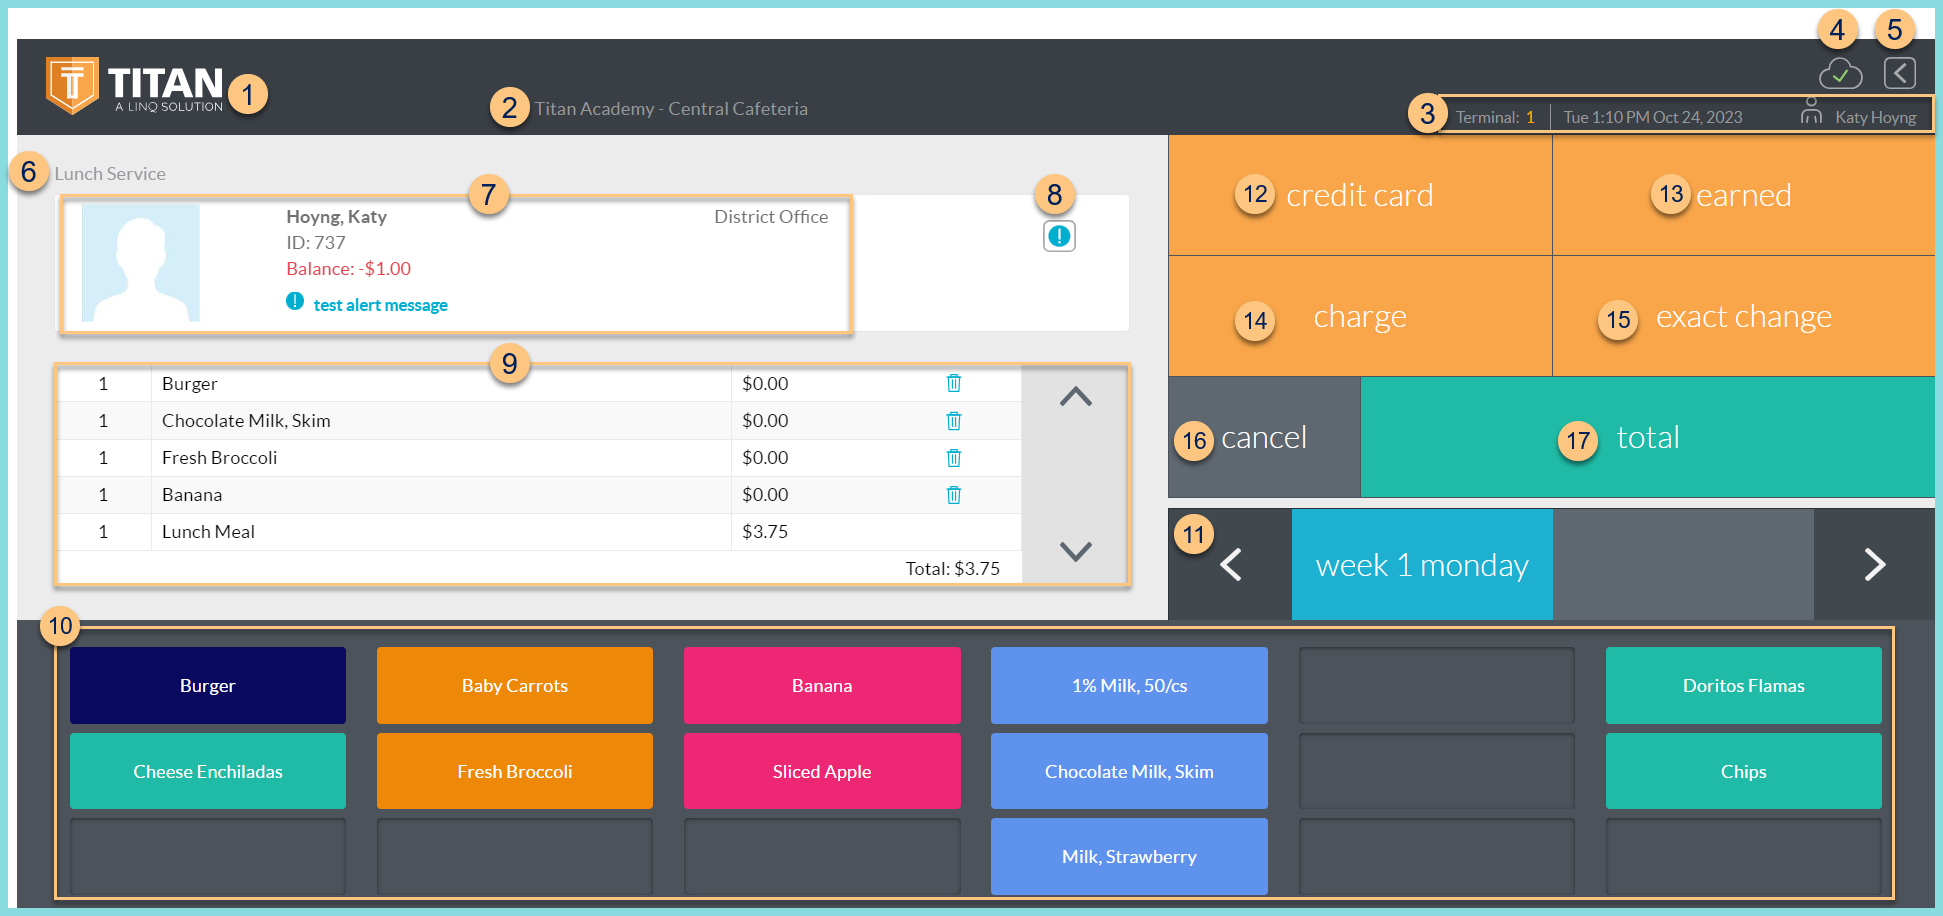
Serving Screen
pos.titank12.com
-
TITAN Logo - click to enter full screen mode
-
Notice the District Name and Cafeteria Name
-
Notice the Terminal Number, Date, Time, and Cashier Name
-
Cloud Icon - notice the status of the cloud icon
Green Check - connected to cloud
Gray Dash - not connected to cloud
Red Number - number of transactions saved in browser for communication when connection returns -
< - non-functional on this screen
-
Notice the selected Serving Session.
Date (not pictured, changed date only) - notice the date if different than today -
Notice the selected person's photo, name, ID or POS ID, Balance, Assigned or Enrolled Building, Grade (students only), and alert message if applicable.
-
Notice the Alert Message (blue exclamation point) and/or Allergies (red cross) symbols. Click the blue symbol to view alert message, dietary restrictions, religious restrictions. Click the red symbol to view allergies.
-
Notice the selected sales items, quantities, and prices. Click the quantity to to change. Click the Trash Can icon to remove the item. Notice the Total dollar value. Click the arrows to scroll through the list of selected items.
Note: The price of a reimbursable item will show with X.XX in place of actual price if Display Reimbursable Meal Price is not selected. -
Device Layout - tap items on the device layout to select for purchase. Tap an item multiple items to add to the quantity.
-
Pages - tap to select a different page. Click < > to scroll through pages.
-
Credit Card - click to pay for the transaction with a credit card if enabled and return to the PIN, Photo, or Buffered screen.
-
Earned - click to process the transaction at no cost if enabled and return to the PIN, Photo, or Buffered screen.
-
Account or Charge - click to pay for the transaction with the person's account funds ( Account = sufficient funds; Charge = insufficient funds) and return to the PIN, Photo, or Buffered screen.
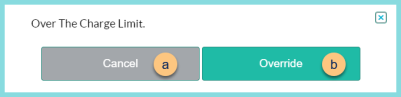
Over The Charge Limit - if the person's account would go beyond the charge limit and the cashier has override rights, an "Over the Charge Limit" message appears.
a. Cancel - click to return to the serving screen and not allow the person to exceed the charge limit.
b. Override - click to allow the person to exceed the charge limit and complete the transaction.
-
Exact Change - click to process the transaction with exact change given and return to the PIN, Photo, or Buffered screen.
-
Cancel - click to return to the previous screen without completing the transaction
Void (not pictured, previous transaction only) - click to void the transaction -
Total - click to be redirected to the Total Screen to process a check, external, school account, or non-exact cash payment.
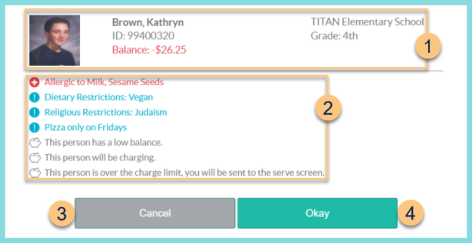
Alert Message
An alert message will appear prior to entering the serving screen if the student has limitations and alerts are enabled.
-
Notice the selected person's photo, name, ID or POS ID, Balance, Assigned or Enrolled Building, and Grade (students only).
-
Notice the allergy message, dietary restrictions message, religious restrictions message, and pos alert message. Notice the low balance and charge messages if enabled. Notice that if the person is over the charge limit, you will be sent to the serve screen if enabled.
-
Cancel - click to return to the previous screen
-
Okay - click to proceed to the serving screen (non-eat and repeat) or complete the transaction (eat and repeat)